Why Your Vintage Cassette Deck Sounds Thin and How to Fix It

The common myth that vintage tape decks are inherently low-fidelity is wrong.
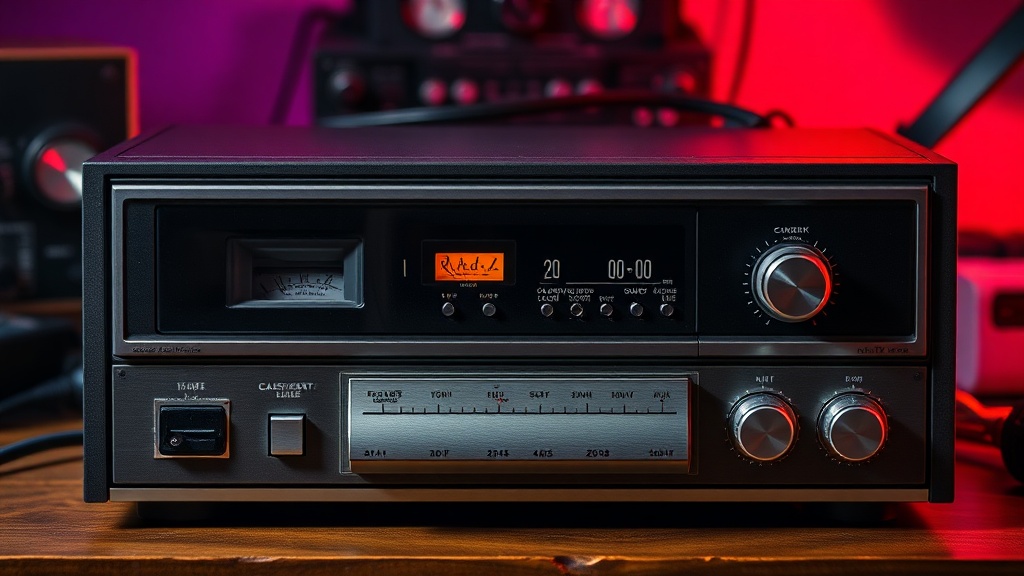
Most people assume that if a cassette deck sounds thin, tinny, or lacks low-end punch, the fault lies with the era's technology. They blame the magnetic tape or the limitations of the 1980s. In reality, a well-maintained high-end deck—think Nakamichi or Sony ES series—can deliver incredible-depth and warmth. If your playback feels hollow, it's rarely a lack of quality in the medium itself. It's almost always a result of physical degradation in the playback path or a mismatch in calibration. Understanding these mechanical failures is the first step toward reclaiming that rich, analog sound.
When a tape player loses its low-frequency response, you aren't just hearing a "quiet" sound; you're hearing a failure of the system to translate magnetic flux into electrical signal accurately. This can stem from a dozen different tiny parts that have aged, dried out, or gathered dust. We're going to look at the mechanical and electronic culprits that rob your music of its soul.
Does a dirty playback head ruin the bass?
It is a mistake to think that a dirty head only affects high-frequency clarity. While most people focus on the "crispness" of the sound, oxide buildup on the playback head actually creates a physical barrier between the tape and the induction coils. This gap creates a signal attenuation that often manifests as a loss of low-end energy. If the magnetic particles can't pass their signal through a layer of gunk, the entire frequency response flattens out.
To fix this, you shouldn't just wipe the head with a cloth. You need to address the entire path. A dirty capstan or a worn pinch roller can cause subtle speed fluctuations (wow and flutter), which the human ear often interprets as a lack of "weight" in the music. If the tape isn't running at a perfectly consistent speed, the low-end frequencies lose their impact. Use a high-grade isopropyl alcohol (99% is best) and a lint-free swab to clean the head, but don't forget the capstan. A quick look at the Head-Fi community resources can provide deep technical dives into specific mechanical cleaning for high-end gear.
The Role of the Pinch Roller
The pinch roller is often the unsung hero of tape stability. If the rubber has hardened or developed a "flat spot" from sitting in one position for years, it won't exert enough pressure against the capstan. This leads to a weak signal. If your roller is glazed or hard, it’s time to replace it. A soft, supple roller ensures the tape maintains constant contact with the head, preserving that deep, analog warmth we all crave.
Why is my cassette player volume so low?
Low volume and a "thin" sound are often two sides of the same coin. If your output level is dropping, it's a sign that the signal-to-noise ratio is being compromised. This is frequently caused by the internal electronics—specifically the capacitors. In vintage gear, electrolytic capacitors act like tiny batteries that smooth out the signal. Over time, these can leak or dry out, causing the voltage to drop and the signal to become weak and lifeless.
If you've cleaned the heads and the tape is fresh, but the sound remains thin, you're likely looking at an internal component failure. This requires a multimeter and a steady hand. Many collectors find that replacing aging capacitors in the output stage can bring back the "punch" that seemed lost to time. If you aren't comfortable with a soldering iron, it might be time to consult a professional technician. You can find many specialized parts at distributors like Mouser Electronics to ensure you're using the correct components for your specific model.
How do I calibrate a tape deck for better sound?
Calibration is the most misunderstood part of the hobby. People think a deck is "plug and play," but high-end machines are actually highly tunable instruments. If your deck isn't calibrated to the specific type of tape you are using, you will never achieve the full frequency response. A Type I Ferric tape has a completely different magnetic profile than a Type II Chrome or Type IV Metal tape.
If you are running Type II tapes on a machine calibrated for Type I, the music will sound thin and lacking in high-end detail. Conversely, if the bias is set too high, the high frequencies will be muffled, making the music sound "muddy" and dull. To get it right, you need a calibration tape—a specialized tape with known frequency levels. By adjusting the bias and azimuth settings using the controls on your deck, you can fine-tune the machine to match the tape perfectly. This is where the real magic happens; a properly calibrated deck can rival modern digital playback in terms of sheer presence and depth.
- Check the Azimuth: If the playback head is slightly tilted, one channel will be louder or more "out of phase," which kills the perceived depth of the soundstage.
- Inspect the Belt: A slipping belt causes inconsistent torque, which leads to a weak, unstable signal.
- Test the Tape: Sometimes the fault isn't the machine. Old, degraded tape loses its magnetic particles, resulting in a thin, scratchy sound.
Maintaining a vintage deck is a constant cycle of observation and adjustment. You can't just set it and forget it. You have to listen for the subtle shifts in texture. When you hear that low-end warmth returning after a thorough cleaning or a component swap, it's a deeply satisfying feeling. It's the sound of a machine being brought back to life.