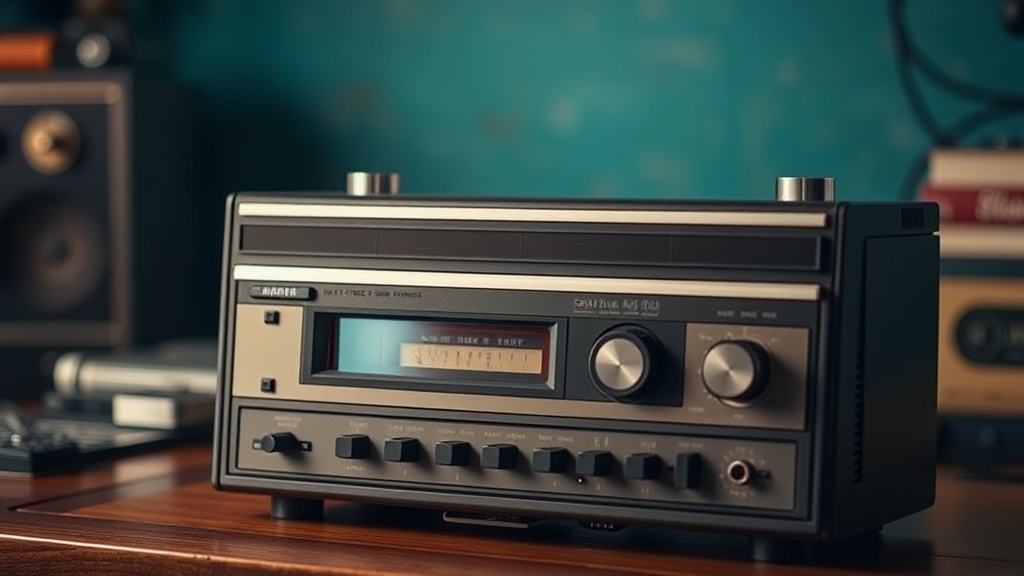
How to Clean and Restore a Vintage Cassette Player: A Complete Guide

This guide covers the complete restoration process for vintage cassette players—from basic cleaning to belt replacement and head alignment. Whether you've inherited a Sony Walkman or scored a Technics deck at a garage sale, proper restoration brings decades-old hardware back to reliable working condition. You'll learn which tools to buy, which solvents to avoid, and when to call in a professional.
What Tools Do You Need to Restore a Cassette Player?
Most restorations require only basic hand tools and cleaning supplies. The good news? You won't need a soldering iron for 80% of common issues.
Here's what belongs in your repair kit:
- Precision screwdrivers — Japanese decks often use JIS (Japanese Industrial Standard) screws. A Vessel JIS set prevents cam-out and stripped heads.
- Contact cleaner — Deoxit D5 for potentiometers and switches. It leaves a protective film that prevents future oxidation.
- Isopropyl alcohol — 99% concentration for cleaning rubber pinch rollers and metal parts. Lower concentrations leave residue.
- Cotton swabs and foam sticks — Standard Q-tips work, but foam-tipped applicators (like Chemtronics) don't leave fibers behind.
- Demagnetizer — A tape head demagnetizer (such as the Han-D-Mag) removes magnetic buildup that causes muffled highs.
- Belt kit — Square-cut rubber belts in assorted sizes. eBay sellers often sell matched sets for specific models.
The catch? Cheap tools cost more long-term. A $6 screwdriver set from the hardware store will strip screw heads—guaranteed. Invest in quality once.
How Do You Clean a Cassette Player Without Damaging It?
Use gentle solvents applied sparingly with lint-free materials. Aggressive cleaners dissolve plastic, corrode circuit boards, and destroy rubber.
Start with the tape path—the route tape travels from supply reel to take-up reel. This includes the heads, capstan, and pinch roller. These parts contact magnetic tape directly. Dirt here causes wow, flutter, and dropouts.
Cleaning the Heads
The playback head (the small rectangular block) and erase head need gentle attention. Dip a foam swab in 99% isopropyl alcohol. Wipe across the head face—not up and down. Vertical motion drags debris into the head gap. Horizontal motion lifts it away.
You'll see brown gunk. That's oxide shed from old tapes. Keep wiping with fresh swabs until they come away clean. Dry residue causes more problems than wet cleaning—don't rush.
The Pinch Roller
This rubber wheel (usually black, sometimes brown) presses tape against the capstan shaft. Over decades, rubber hardens, develops flat spots, or turns sticky. Cleaning helps—but replacement is often necessary.
Clean pinch rollers with distilled water and a drop of mild dish soap. Never use alcohol on rubber. It accelerates hardening. That said, if the roller already feels like a hockey puck, order a replacement. Tapeheads.net maintains active forums where members share part numbers and 3D-printed alternatives.
Capstan and Tape Guides
The capstan is the polished metal shaft that pulls tape at precise speed. Polish it with alcohol on a cloth until it shines. Check the tape guides—small metal posts that keep tape aligned. These often have felt pads underneath that collect dust. Clean or replace them.
How Often Should You Replace Belts in Vintage Cassette Decks?
Replace rubber belts every 10-15 years regardless of use. Rubber degrades through oxidation, not just mechanical wear. A deck stored in a climate-controlled environment still needs fresh belts after two decades.
Signs of belt failure include slow or fast playback, inability to fast-forward, and squealing noises. Sometimes the deck simply won't turn on—the mechanism detects a broken belt and protects itself.
| Symptom | Likely Cause | Fix Difficulty |
|---|---|---|
| Playback too fast | Stretched belt, incorrect replacement size | Easy |
| Playback too slow | Worn belt, dirty capstan, motor issues | Moderate |
| Won't fast-forward | Broken idler tire or belt | Moderate |
| Squealing on play | Dry capstan bearings, dirty pinch roller | Moderate to Hard |
| Auto-stop triggers immediately | Broken belt, seized mechanism | Easy to Moderate |
Installing belts requires patience. Take photos before disassembly. Note belt routing—some decks use double-pulley configurations that aren't obvious. The Squirrels of Toronto Museum (and other preservation sites) occasionally host scanned service manuals with belt diagrams.
Can You Fix a Cassette Player That Eats Tapes?
Yes—tape eating usually stems from three causes: damaged pinch rollers, misaligned tape guides, or weak reel torque. All are fixable with basic tools.
First, inspect the take-up reel. Does it spin freely when you manually rotate it? Resistance here indicates a dirty or seized brake mechanism. Clean the brake pad with alcohol and ensure the release lever moves freely.
Next, check reel torque with a torque gauge—or improvise with a small weight on a string. Most portable players need 30-45 grams of pull. Desktop decks often require 60-80 grams. Low torque means weak belts or dirty motor pulleys.
Worth noting: some decks have adjustable reel tables with tension springs. The Sony WM-D6C (a professional portable) uses this design. A tiny screwdriver tweaks spring tension. Too tight and motors strain. Too loose and tapes spill.
Preventing Future Damage
After repair, demagnetize the heads. Magnetic buildup from old tapes attracts oxide particles. These particles abrade fresh tapes. A Han-D-Mag or similar tool waves near heads for a few seconds. Follow the tool's instructions—improper demagnetization can magnetize heads worse.
What About Capacitor Replacement?
Electrolytic capacitors fail after 20-30 years. Symptoms include hum, motor speed issues, and intermittent power. Replacing them requires soldering skills and schematic reading.
Don't replace capacitors blindly. Test first. An ESR (Equivalent Series Resistance) meter identifies failing caps without removing them. The Analog Devices website offers application notes on capacitor failure modes worth reading before you start.
That said, some decks benefit from preemptive recap. The Nakamichi Dragon, Pioneer CT-F1000, and Technics RS-1500 all have known capacitor issues. Communities have compiled replacement lists. Buy Japanese-made capacitors—Nichicon, Elna, or Panasonic. Avoid no-name eBay specials.
When Should You Stop and Call a Professional?
Know your limits. Repairs requiring oscilloscope alignment, motherboard-level soldering, or custom fabrication belong to specialists. Toronto has several reputable shops—Bay Bloor Radio handles high-end decks, and some independent techs specialize in portables.
Also consider value. A $20 flea market find doesn't justify $200 in professional labor. But a mint Sony WM-EX1 or Nakamichi BX-300? Those deserve expert care. The repair preserves collector value and ensures decades more use.
Finally, document everything. Photograph screw positions, belt routing, and wire colors. Label parts bags. The next restorer—you in ten years, or the collector you sell to—will thank you. Preservation is a chain. Each careful repair extends the life of these mechanical marvels.
Steps
- 1
Clean the Tape Heads, Capstan, and Pinch Roller
- 2
Demagnetize the Tape Path Components
- 3
Inspect and Replace Worn Belts if Necessary